Setting up a blog with wordpress.com
This tutorial will show you how to create a blog on wordpress.com. The steps outlined below are accurate as of January 2015.
Step by step
Go to wordpress.com! Assuming you haven’t created an account there before, you should see a screen that looks like this:
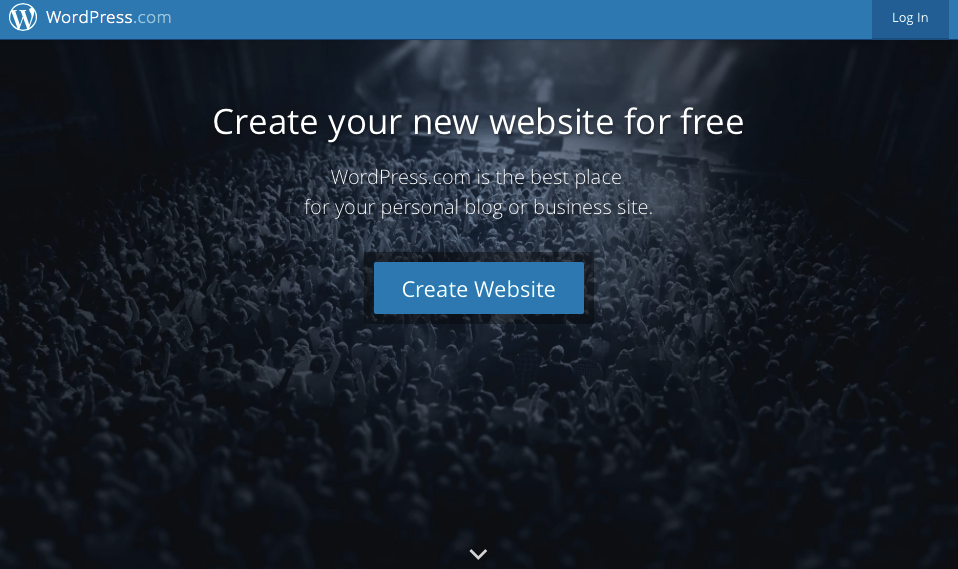
Click on “Create Website.” You’ll then see a form that looks like this:
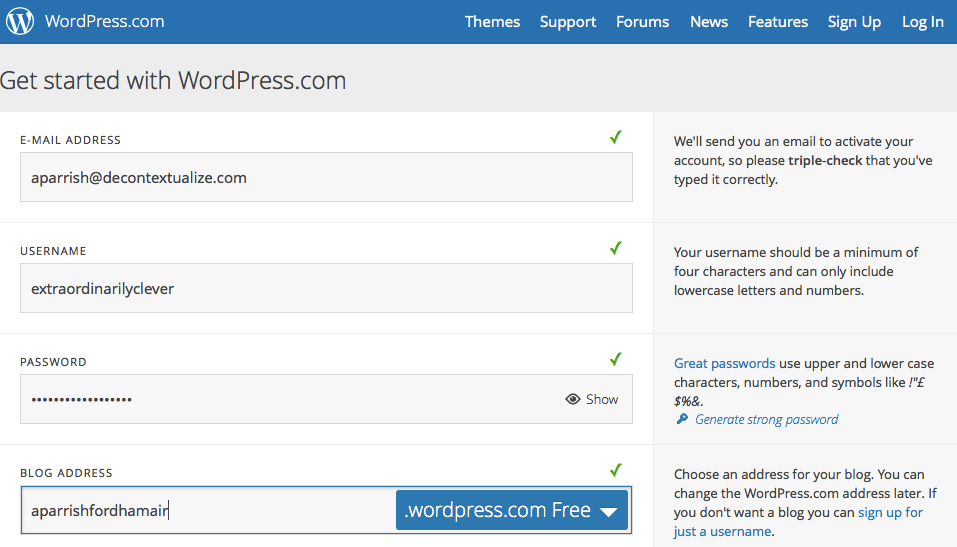
The graphic above shows this form with example values filled in. You’ll need to fill out each of these fields with your own values. Here’s what each field means:
- E-mail address: an e-mail address that you have access to. You’ll use this address to verify your account in a later step, so make sure you can easily log into the account to read e-mail.
- Username: the screen name or handle you’ll use to access the Wordpress site. Choose something unique. (Once you’ve input a value, the form will display an error if the name you’ve chosen is already taken.)
- Password: the password you’ll use to access the site.
- Blog address: This is where you specify what the URL (web address) of your site will be. Your blog will be available on the internet as
blah.wordpress.com, except replacingblahwith whatever you type into this field. Again, you’ll need to choose something unique! Also: choose something that’s easy for you to remember; you’ll find yourself needing to type this address out from memory a lot.
Don’t worry about anything that the site says with regard to “Only $X per
year!” Wordpress.com is free! They offer a premium service that you can
subscribe to if you want your blog to be accessible at an address completely of
your choosing (like my-web-site.com instead of my-web-site.wordpress.com),
but you don’t have to pay for that option in order to use the site.
When you’ve filled in those fields, scroll down to the bottom of the page—past the feature matrix to the buttons at the bottom. It’ll look like this:
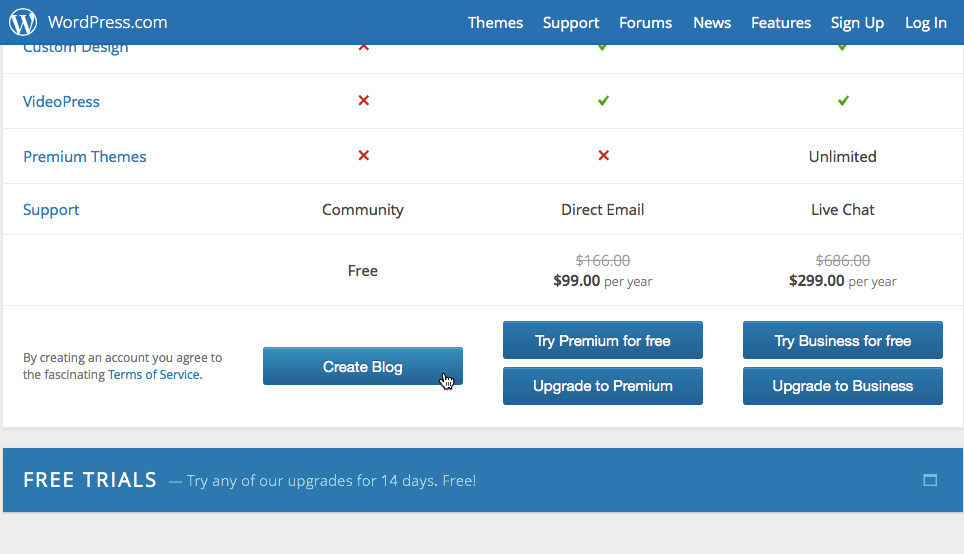
Click on “Create blog.” (Don’t bother with any of the other buttons you see.)
Configuration and customization
After you click on “Create blog,” the site will ask you a number of questions about what your site should look like. First, you can choose a blog title and a blog “tagline”:
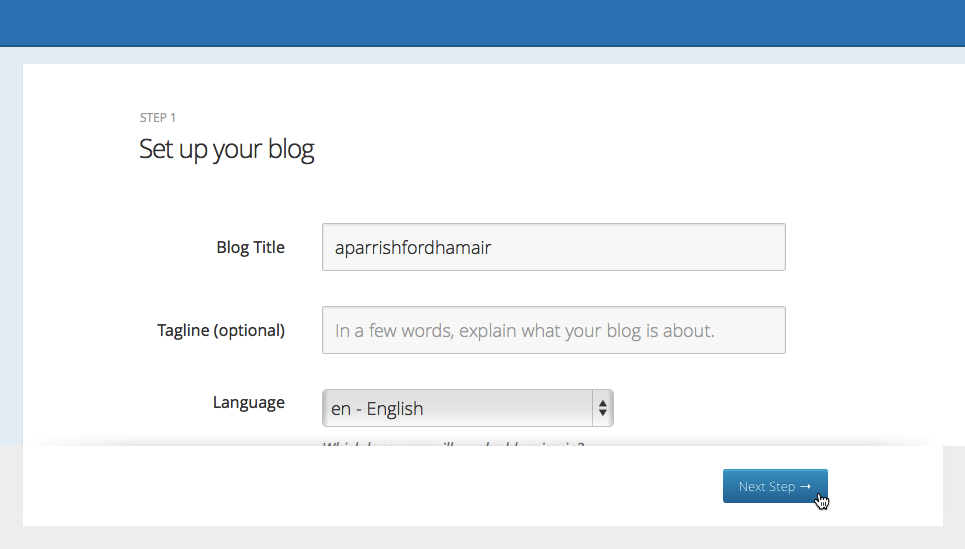
You don’t have to change these from the defaults if you don’t want to, and you can always change them later. Click “Next Step” to continue. You’ll see a screen that looks like this:
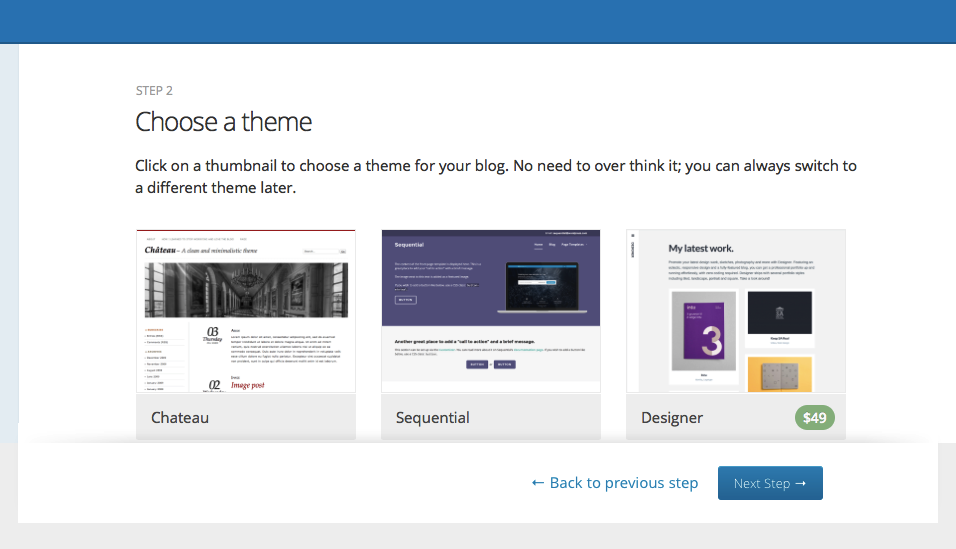
This screen is asking you to choose a “theme” for your blog. (A “theme” is a collection of styles that determine what your blog will look like.) Some of the themes on this page cost money; these are marked by a little dollar amount in the corner. Don’t choose one of these—stick with a free theme for now! I just picked “Chateau.” After you’ve selected a theme, click “Next step.” You’ll see a screen that looks like this:
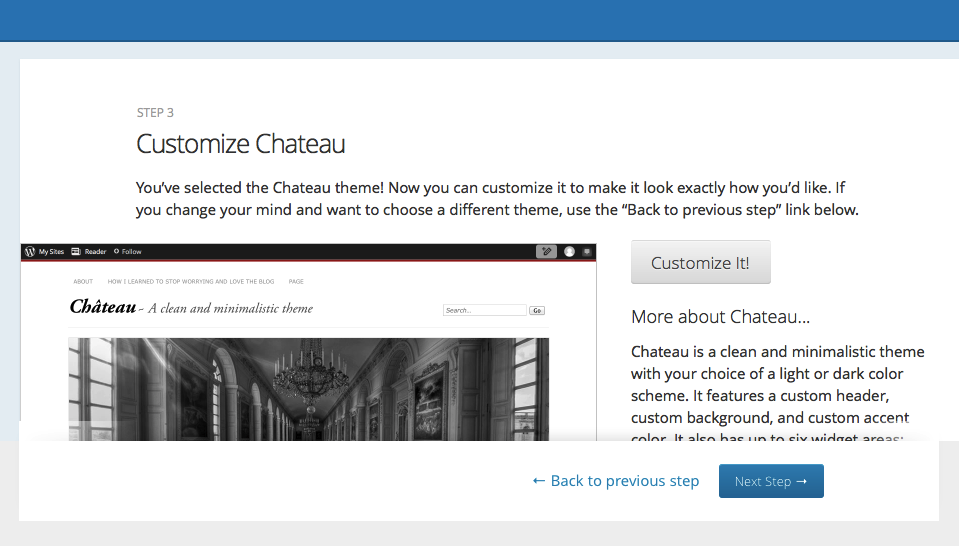
On this screen, you’re given an opportunity to “customize” the theme (to change, e.g., what font is used, what colors, etc.). Let’s just skip this for now. (You can always come back to it later if you’re interested.) Click “Next Step.”
Now you’ll see a screen on which Wordpress asks you to “connect” your Wordpress account to your Facebook or Twitter accounts.
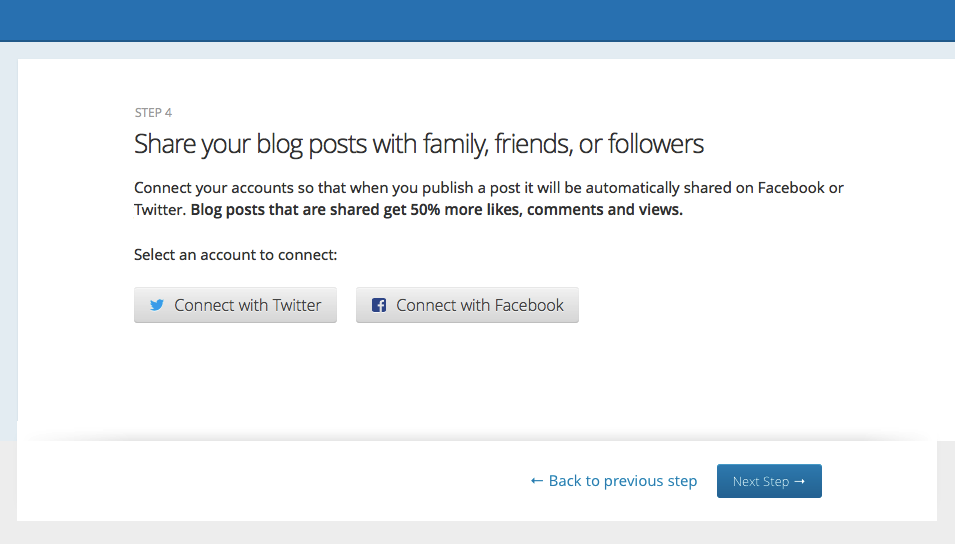
You don’t have to do this either! And frankly, Wordpress, it’s a bit forward for you to ask. Skip this step by clicking “Next Step.”
Now you should see a screen like this:
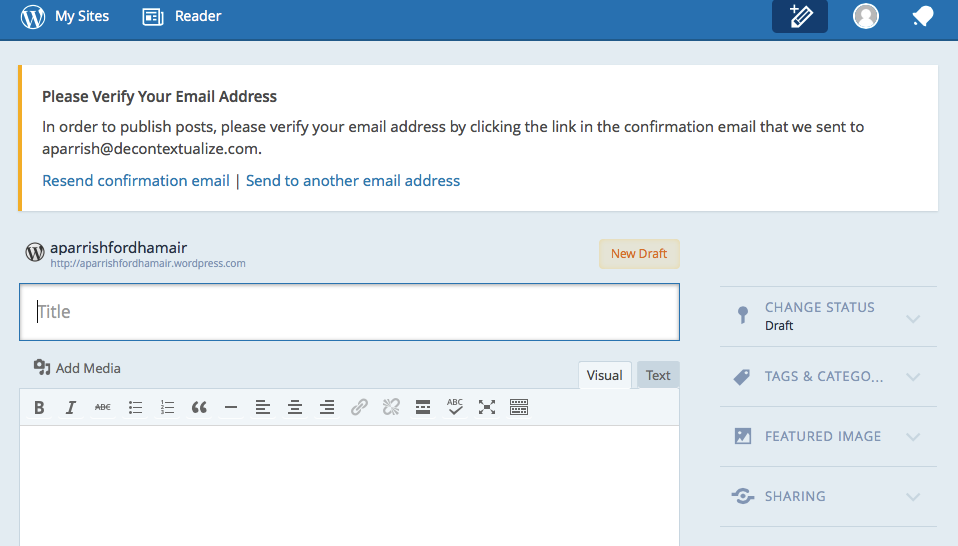
Verify your e-mail
We’re almost ready to make our first post! HOWEVER, you’ll note on the screen above that Wordpress still needs to “verify” your e-mail address. Check the e-mail address that you input in the form above. You should have an e-mail that looks like this:
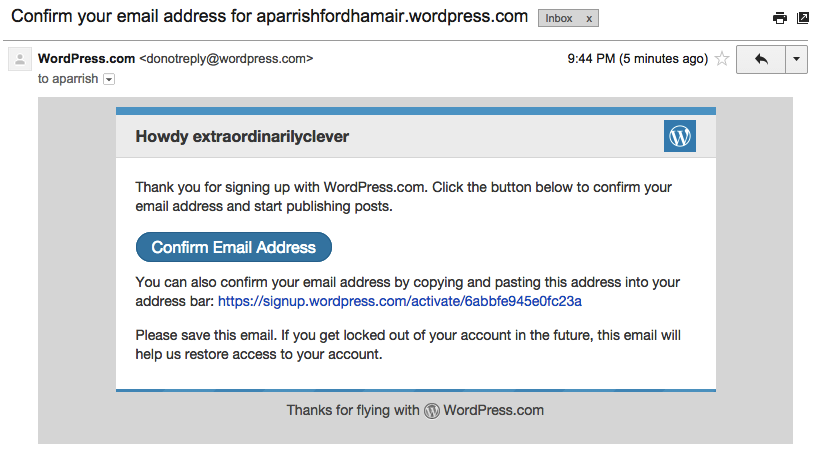
Simply click the “Confirm e-mail address” button. Now, go back to the browser window you’ve been using to sign up for your Wordpress account (or return to Wordpress.com). You should see this screen now:
(If you don’t see this screen, click the pencil with a little “plus” icon in the upper right-hand corner of the browser window.)
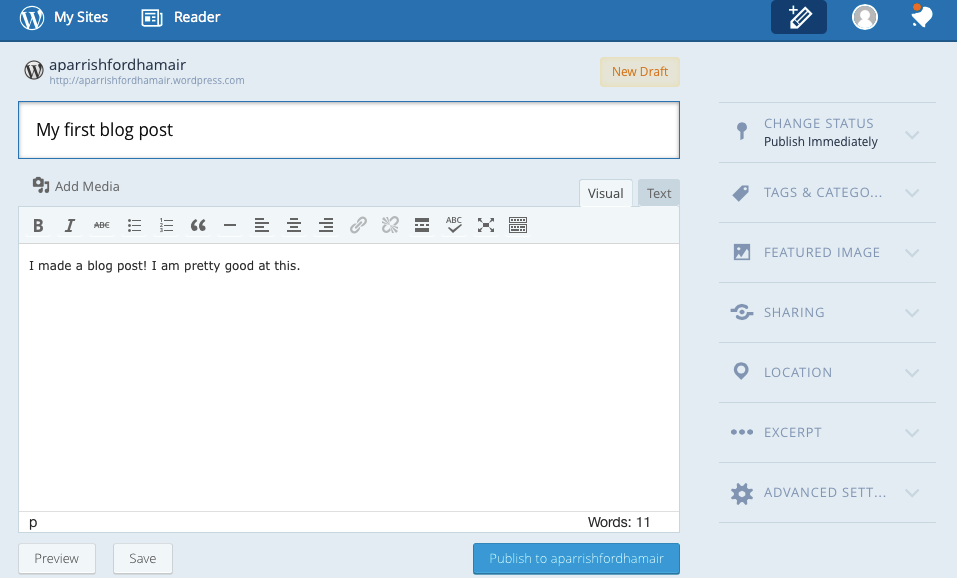
First post!
This is the place where you’ll type your post! Put whatever you want in for now. When you’re done, click the “Publish to…” button beneath the text entry field. You should soon see a little pop-up message that looks like this:

If you click on “View Post,” you’ll be taken to your actual blog post. It should look something like this (unless you chose a different theme):
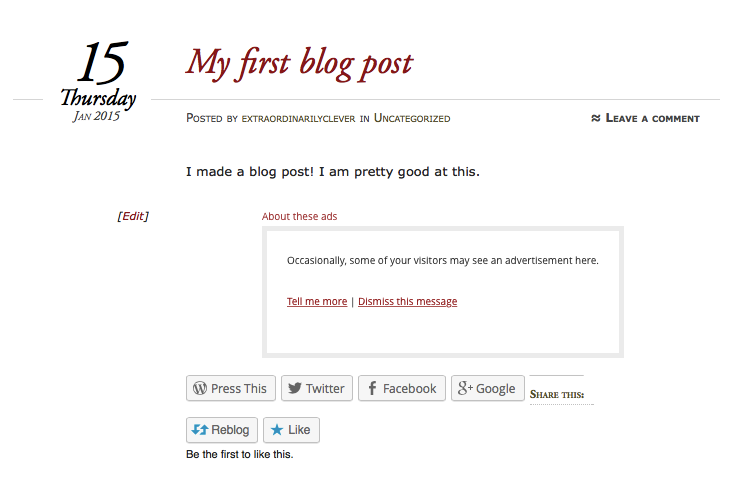
Hey awesome, you’ve just published a blog post! You’ve got a real knack for this.
Web addresses
Now that you have a blog post, you need to know how to send other people the address for the blog and for individual posts. Look at the address bar of your web browser. You should see something that looks like this:

(You might need to click inside the address bar text field in order to see the whole thing, especially if you’re using Safari in OS X Yosemite.)
The text inside the address bar contains two important things: it tells you what the web address (URL) is for the post you’ve just made, and it also tells you the web address of your blog. The portion surrounded by the blue rectangle below is the address of the post, and the (smaller) portion surrounded by the red rectangle is the address of your blog.

To make a new post on your blog, log in to Wordpress.com and click the pencil icon with the plus in the upper right-hand corner of the browser window. It looks like this:
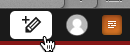
That button will take you to the “new post” form that we used above. Create as many posts as you want!
Next steps
We’ve covered only the bare minimum of the functionality available in Wordpress: enough for you to create a blog, and then make a simple blog post on that blog. If you want to do more with your blog, consult learn.wordpress.com, the official “tutorial” for Wordpress.com. In particular, I recommend reading the following pages:
- Get Started covers the above steps in a bit more detail
- Get Comfy shows how to navigate the (sometimes confusing!) Wordpress.com site itself
- Get Published explains how the post editor works in more detail, including how to upload and post images
- Get Mobile shows how to use the Wordpress.com mobile application, which you can use on your iOS or Android device. Handy!